

STEP 1:
Flush your Pureauty Shower Purifier
Hold your Pureauty Shower Purifier under a tap and turn the water on to flush out the extra carbon particles. This may turn your water grey for the first few seconds, but don’t worry, keep flushing for approx. 20 seconds, turn it over and flush in the opposite direction.
STEP 2:
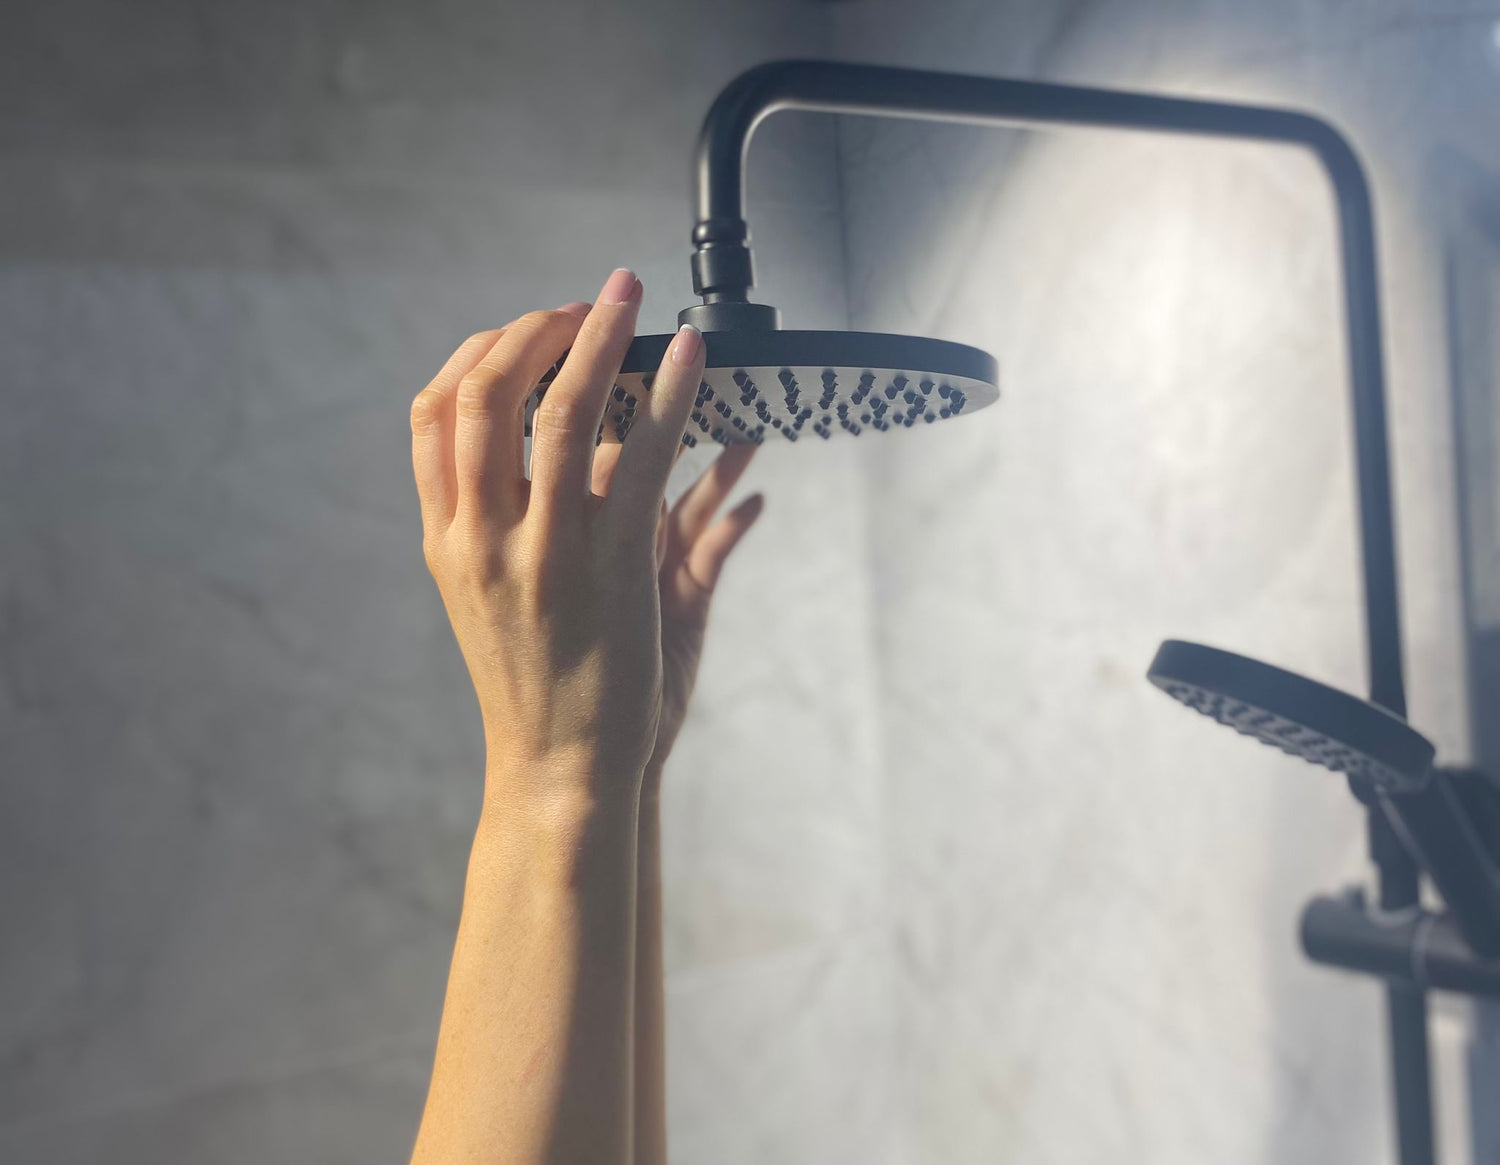
Remove your Existing Shower Head
Remove the existing shower head from the arm, by turning it counterclockwise. This is usually done by hand, but you may need a wrench if your shower head is on too tight.
STEP 3:
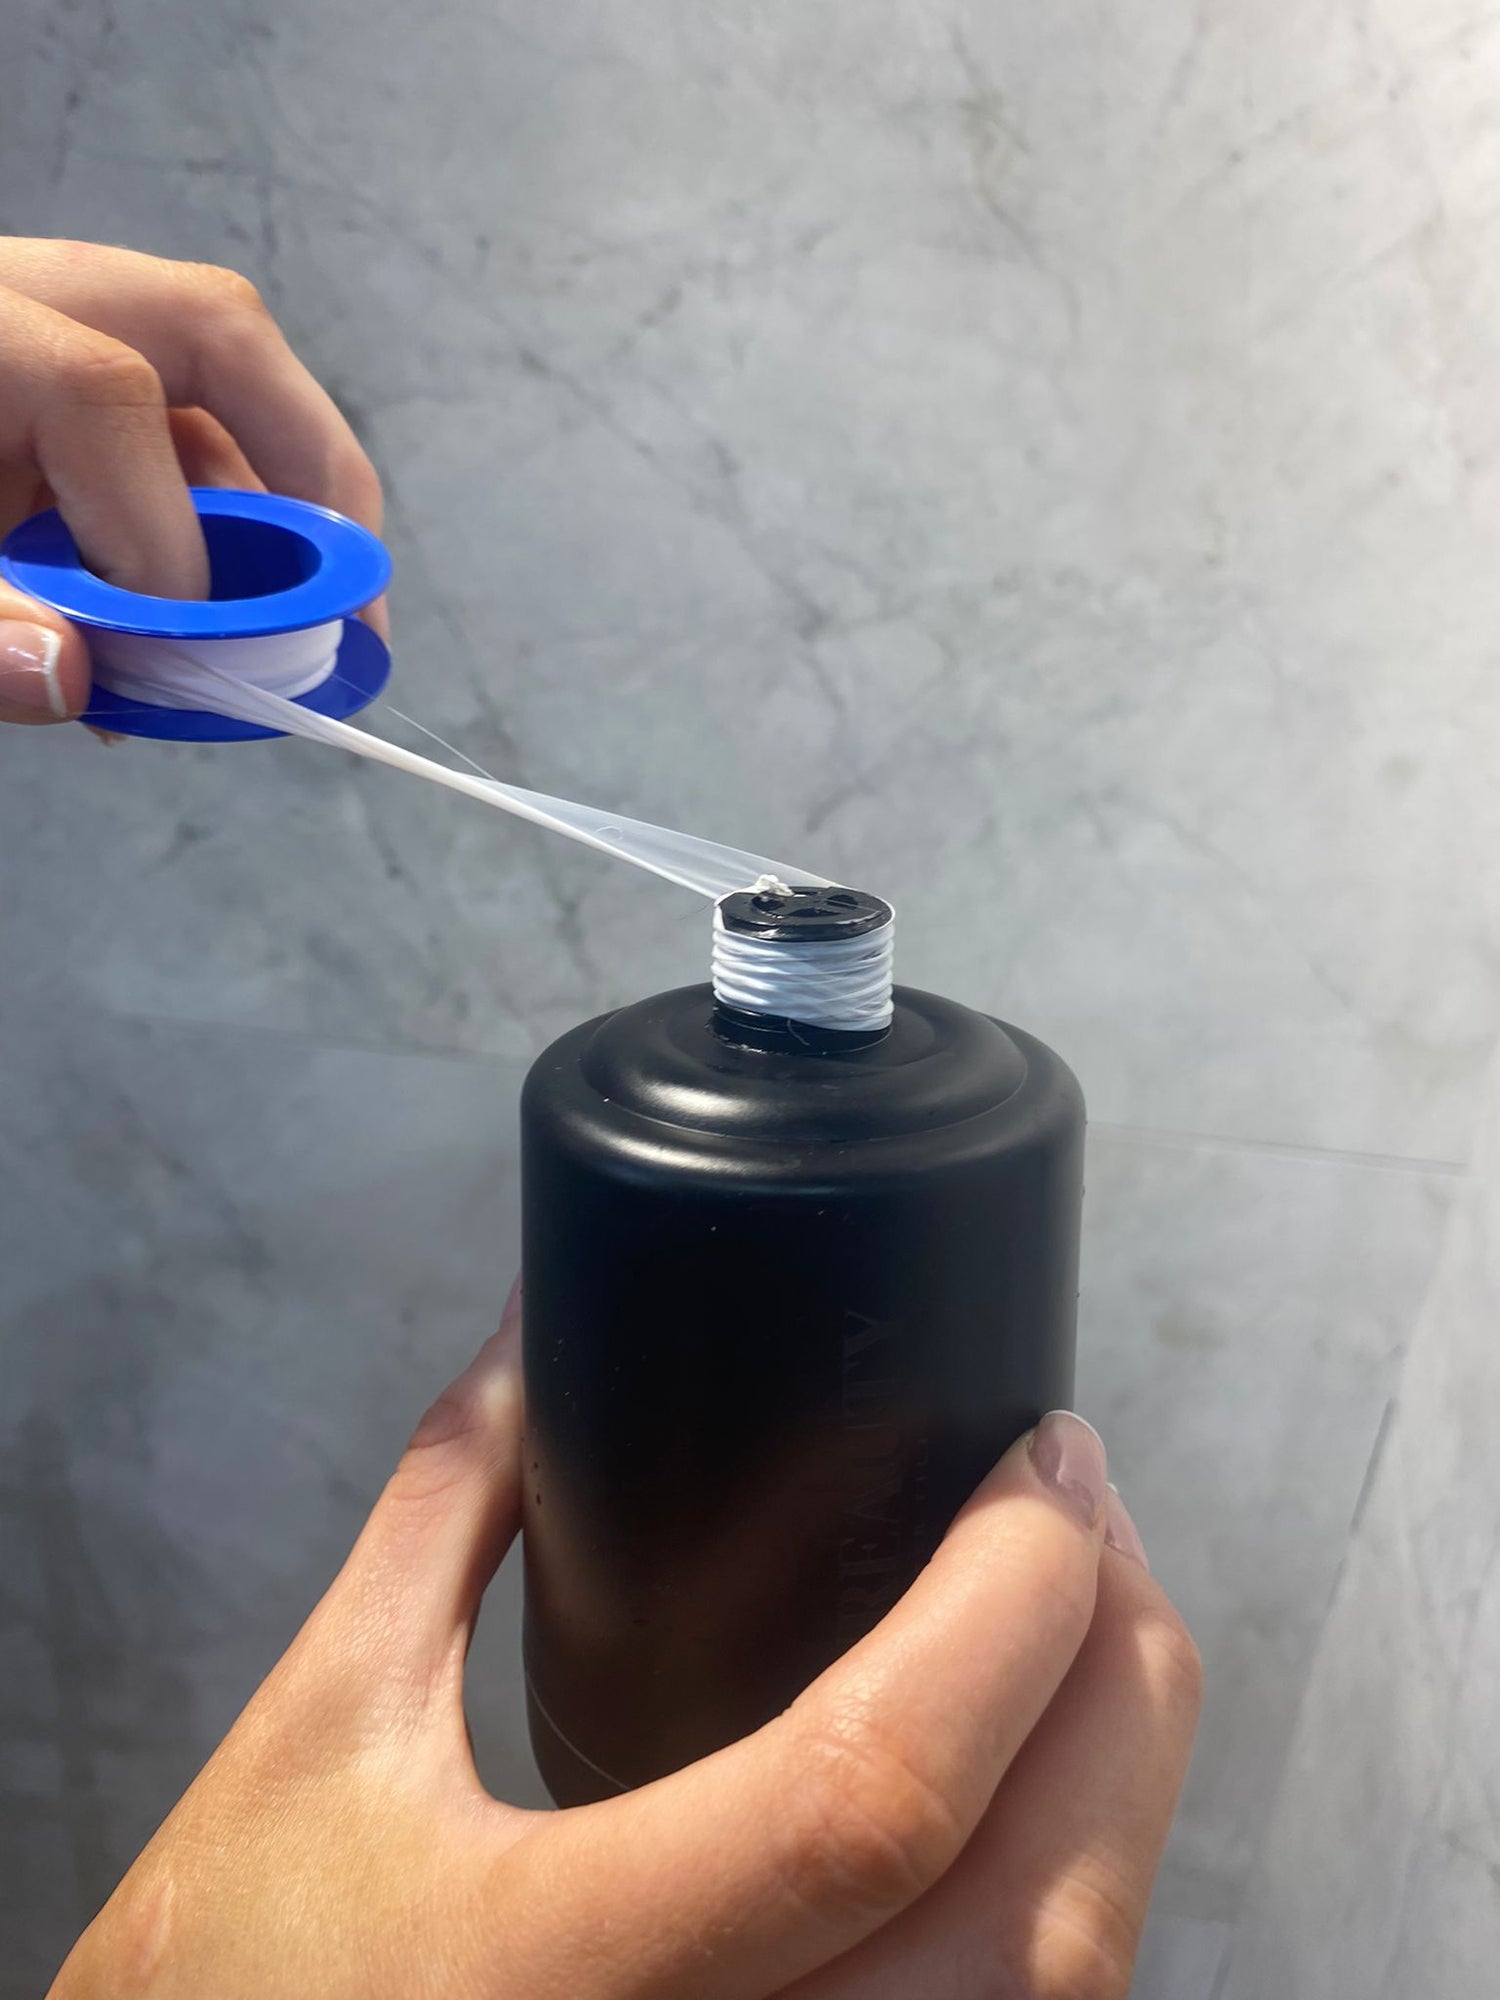
Apply Pureauty Tape
Apply the included tape tightly around your Pureauty Shower Purifier thread and the shower arm (approximately 3-5 times).
STEP 3:
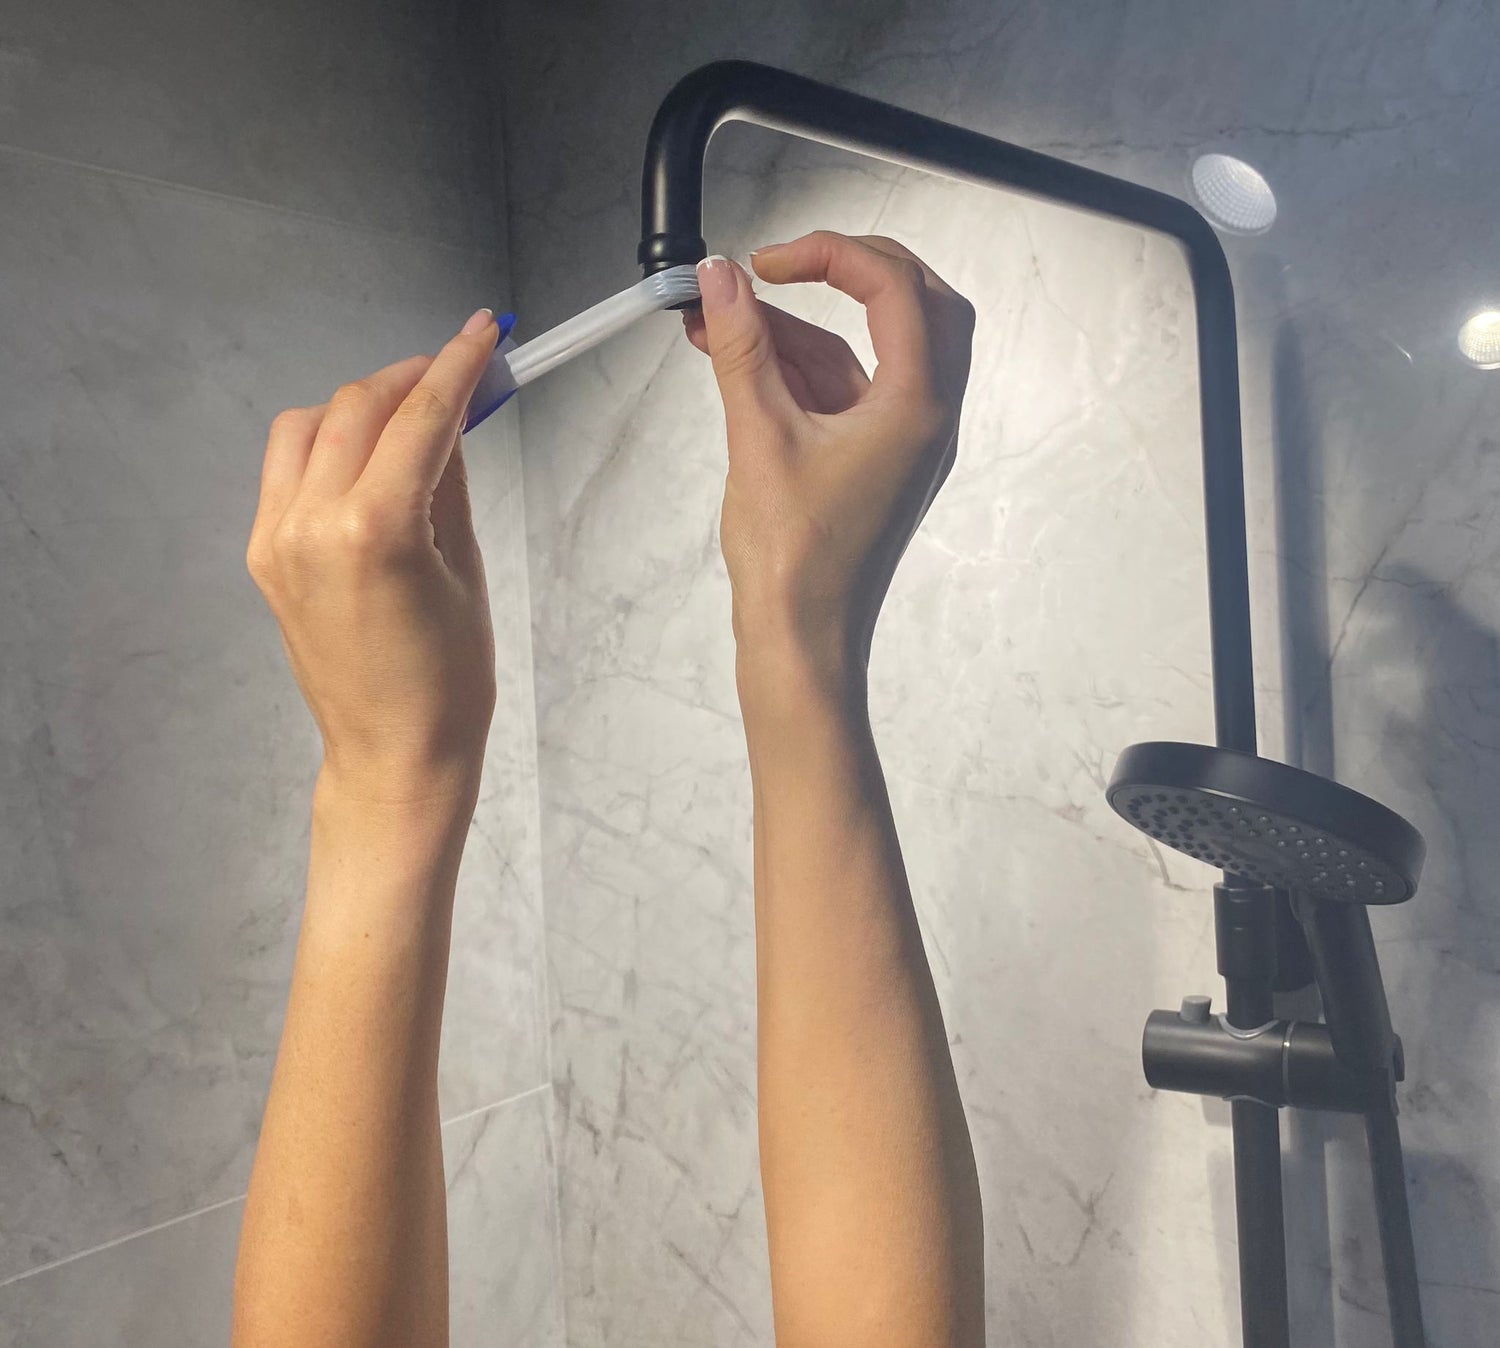
Apply Pureauty Tape
Apply the included tape tightly around your Pureauty Shower Purifier thread and the shower arm (approximately 3-5 times).
STEP 4:
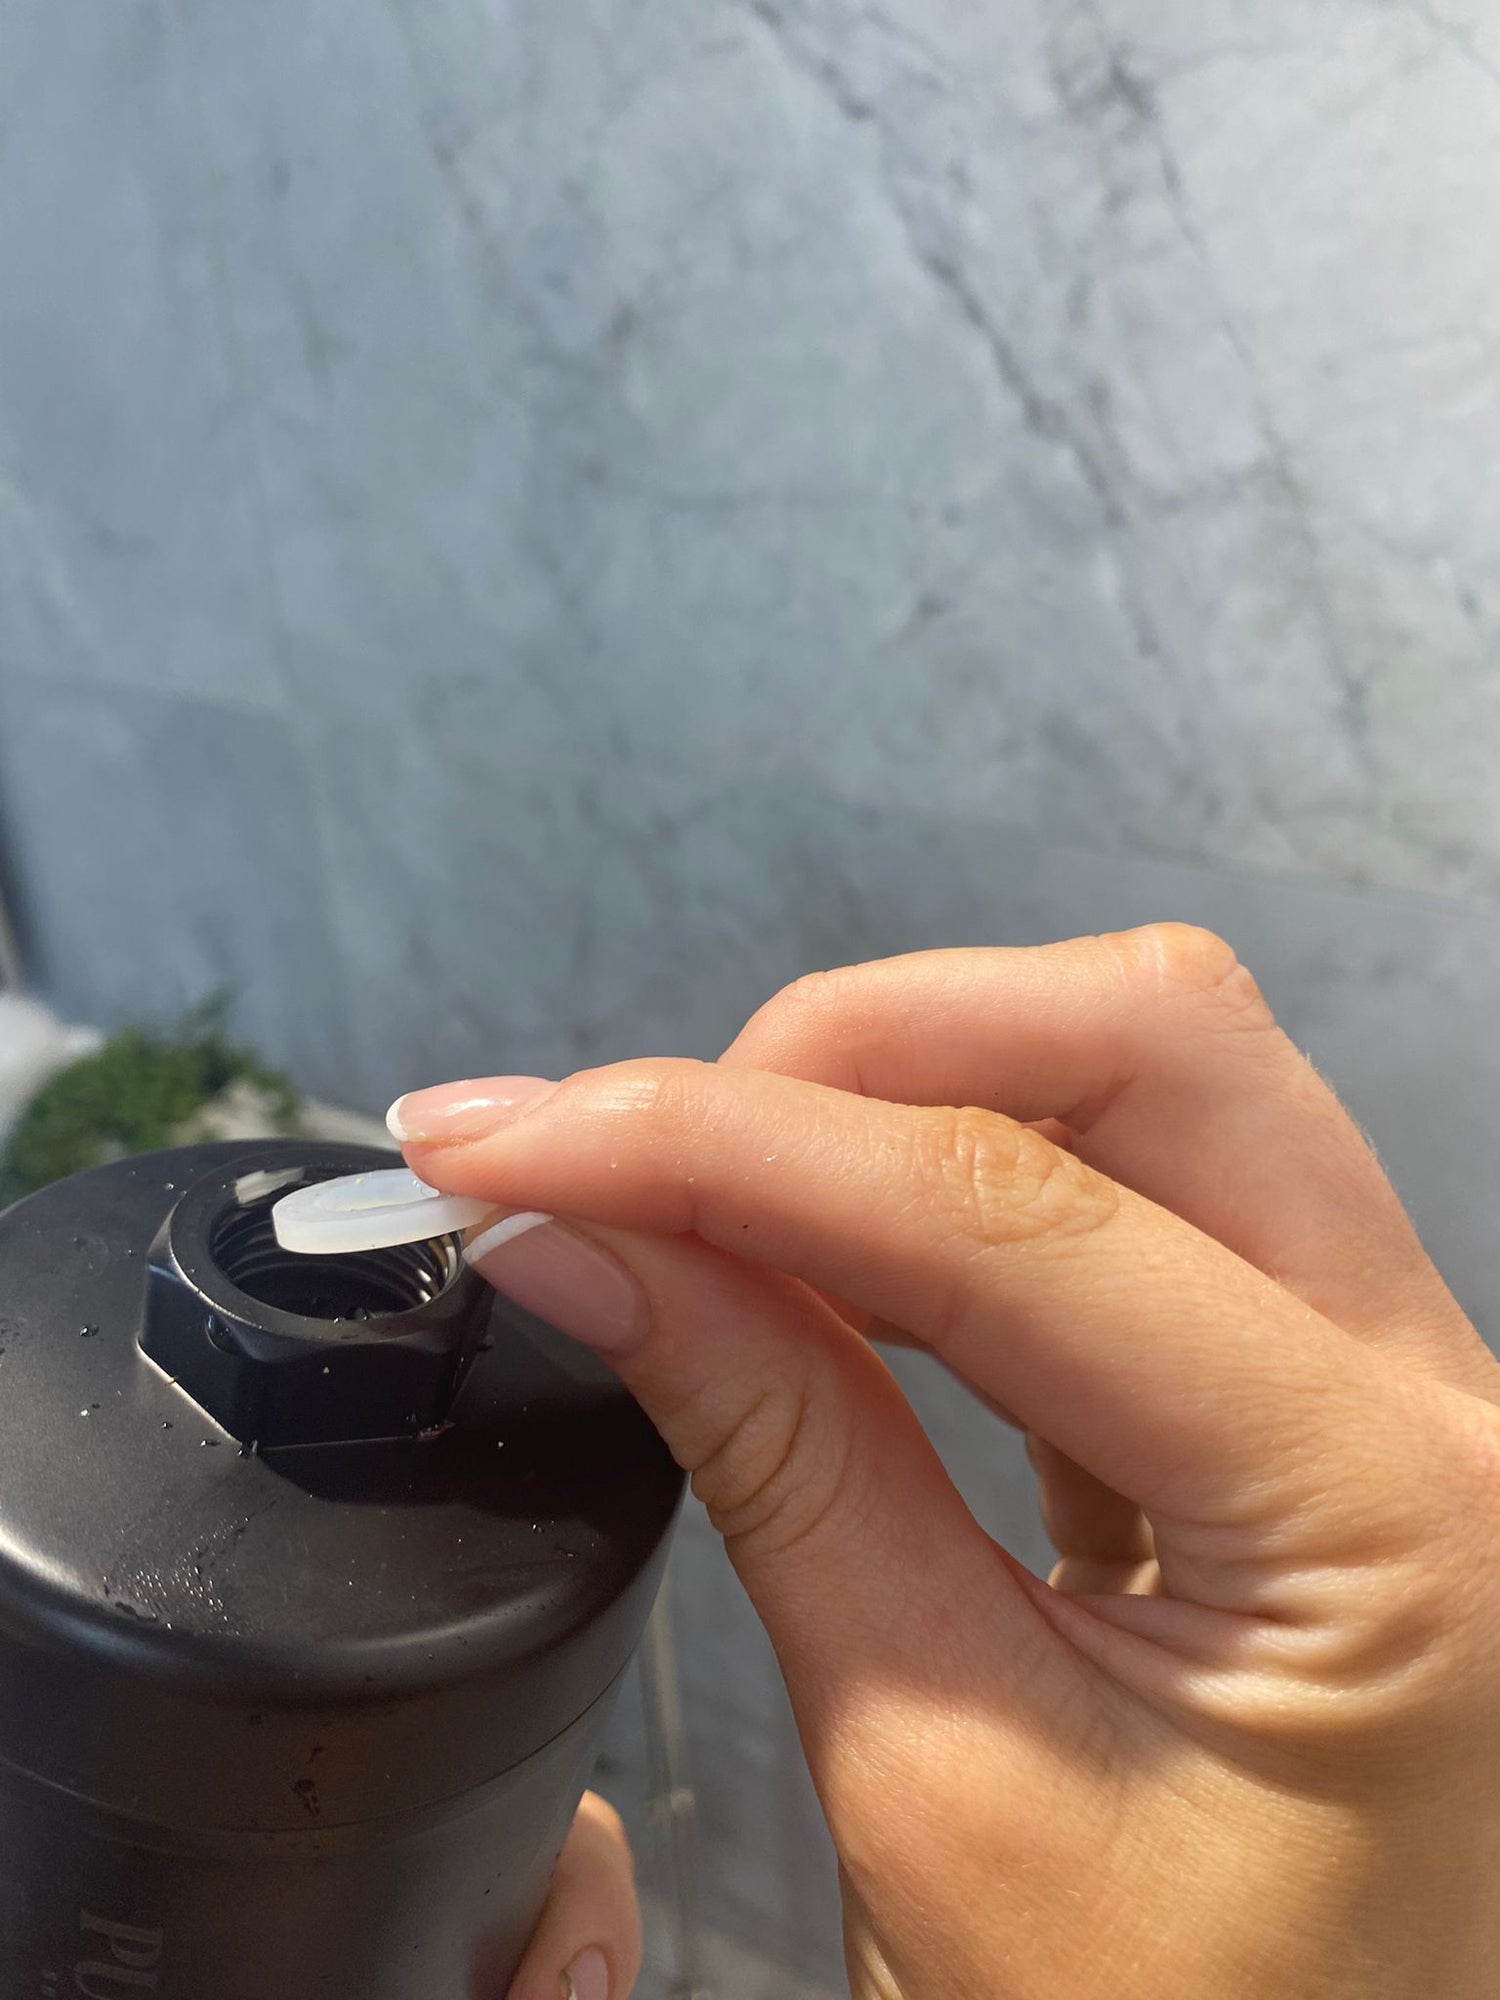
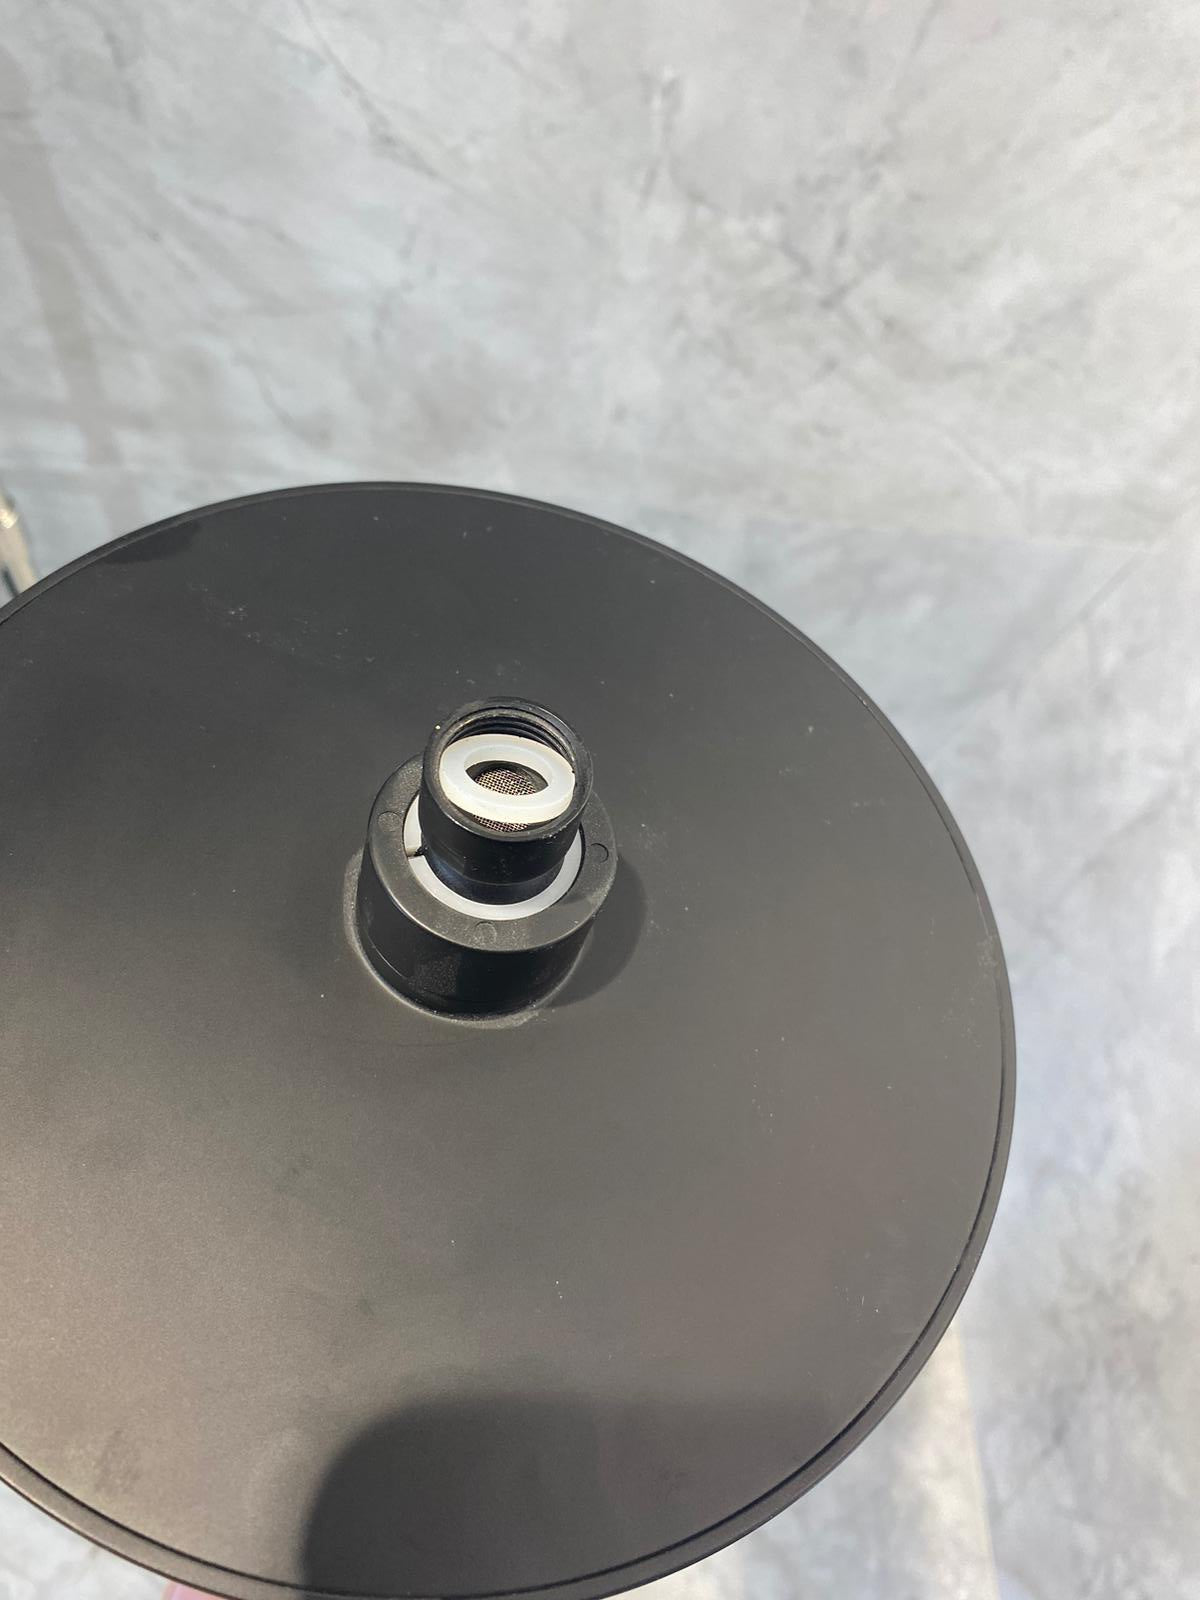
Insert O-Ring
Insert the included washer rings inside your Pureauty Shower Purifier thread and the shower head.
STEP 4:
Insert O-Ring
Insert the included washer rings inside your Pureauty Shower Purifier thread and the shower head.
STEP 5:
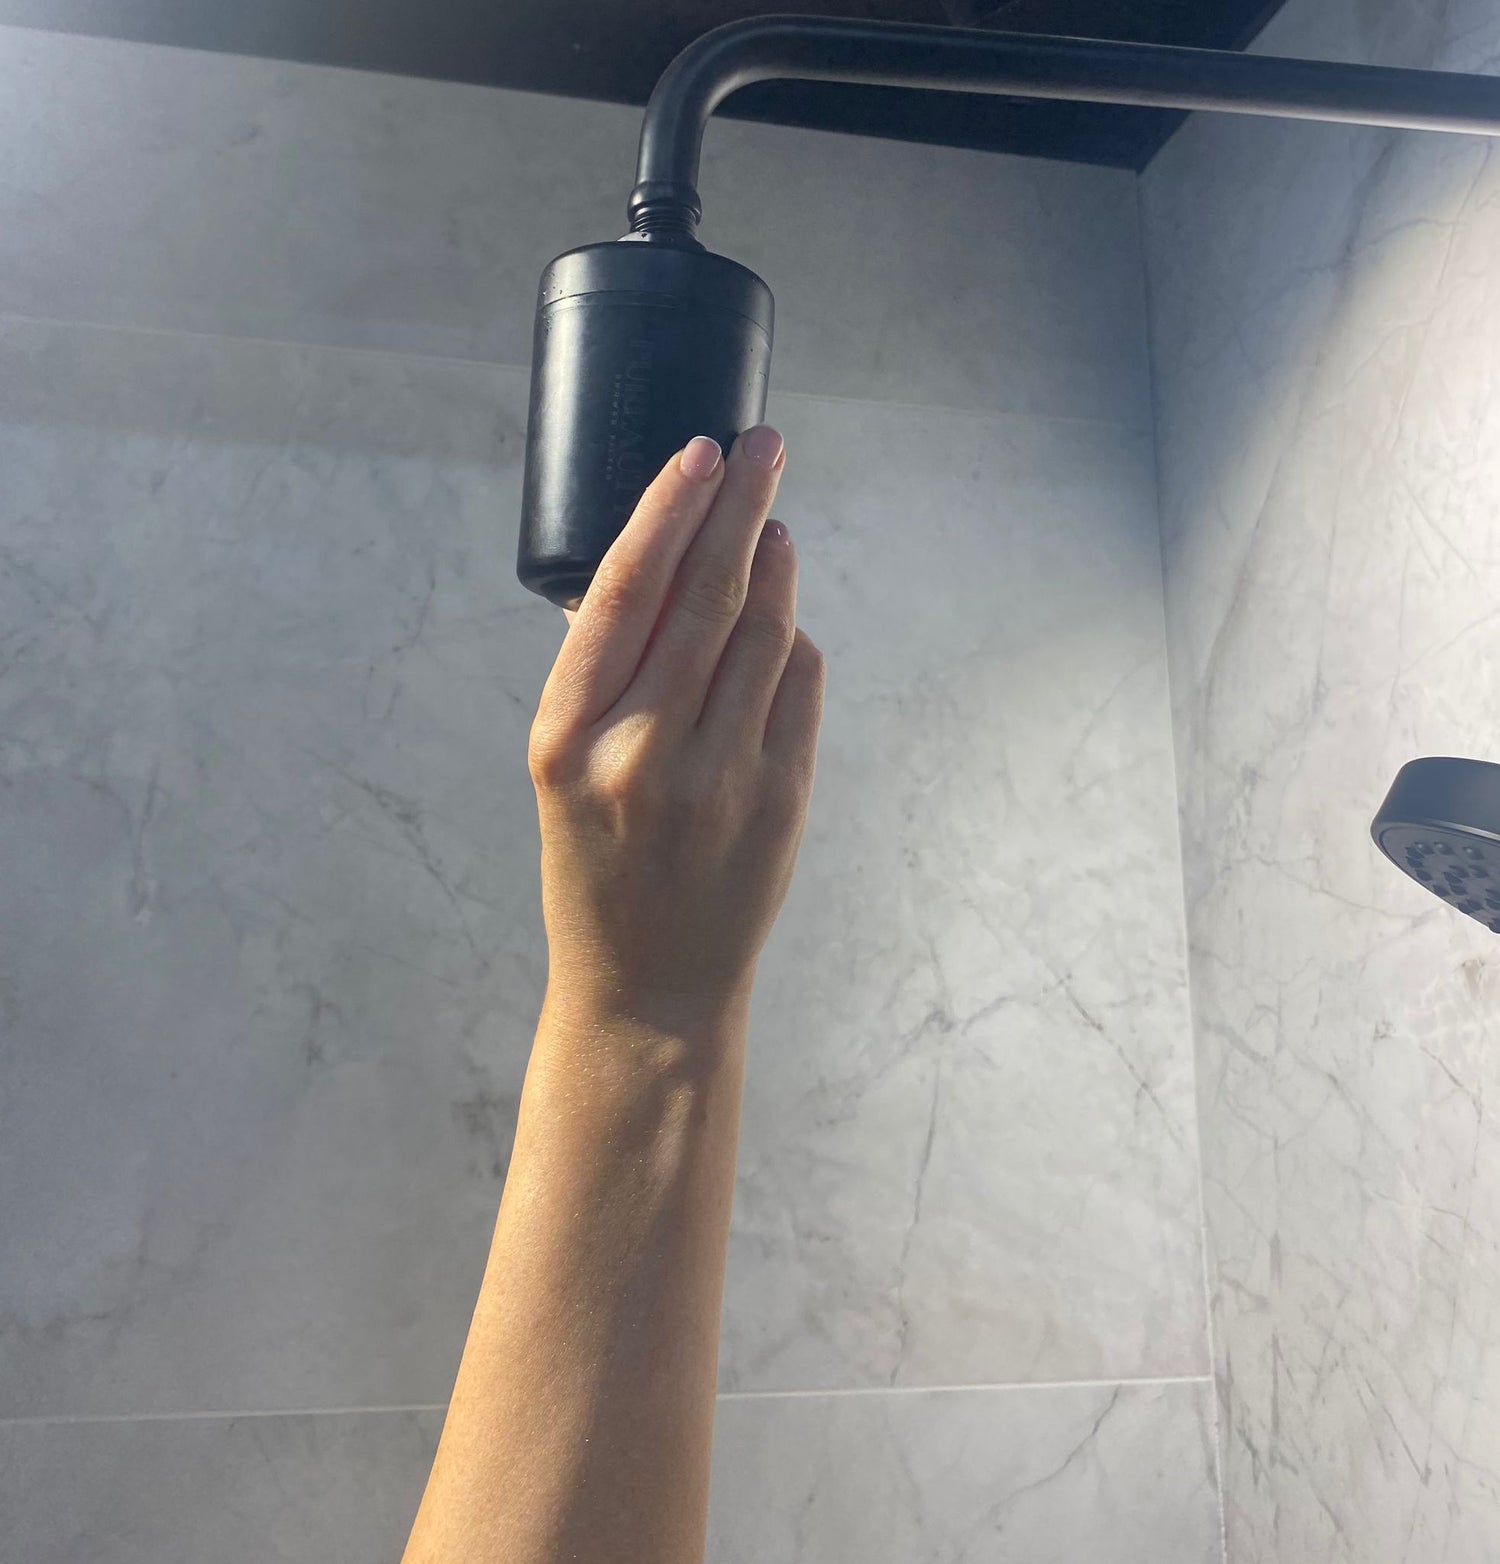
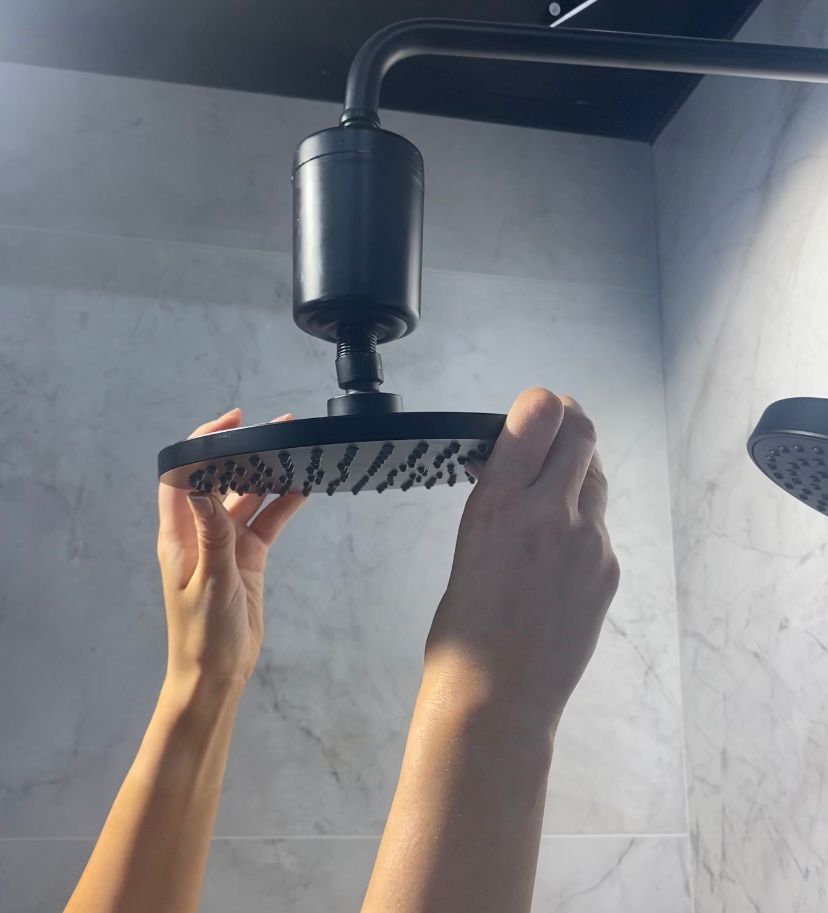
Install Your Pureauty Shower Purifier
Install your Pureauty Shower Purifier onto the shower arm by turning it clockwise tightly, then install your shower head by turning it clockwise . If additional tightening is required, use a soft cloth to protect the Pureauty Shower Purifier, and tighten with a wrench.
STEP 5:
Install Your Pureauty Shower Purifier
Install your Pureauty Shower Purifier onto the shower arm by turning it clockwise tightly, then install your shower head by turning it clockwise . If additional tightening is required, use a soft cloth to protect the Pureauty Shower Purifier, and tighten with a wrench.